Do-it-yourself Alpine slide - step by step instructions and photos
Today we will talk about one of the richest traditions in gardening and landscape design. Alpine slide or rock garden is a beautiful composition of plants and stones in the garden. As you can easily guess from the name, this composition is created to imitate the picturesque slopes of the Alps - the rock occupies the central position, but it is almost completely hidden by various high and low plants (unlike rockeries, where the stones come to the fore).
In this article, you will learn how an alpine slide can be made by hand and which plants are best suited for it. To your attention - step by step instructions and 35 photos!
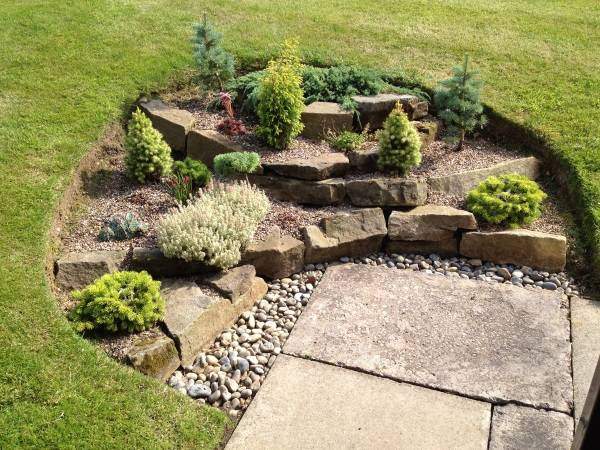
Beautiful alpine slide in the country or in the garden
The creation of alpine slides today is expressed in many styles and forms, including slides with artificial ponds and waterfalls. But the main secret of their attractiveness is the combination of different plants that contrast with each other in height, color and texture of the leaves. Quite often, for a more expressive effect, dwarf trees and shrubs, especially conifers, are placed in the center of the hill. In general, flowers and plants are selected unpretentious, often found in the mountains. They love rocky soil and sunny places, need good drainage, but are not afraid of drought.
A small do-it-yourself alpine slide is created in several stages:
- The choice of plants and stones (actually thinking over the design of the slide);
- Selection of ideal drainage and soil;
- Directly creating an alpine slide in a country house or a plot of a private house.
The best time to start this business is just the middle of autumn. It is worth installing stones, filling up drainage and soil right now, so that during the winter they have time to “settle” and be ready for planting in the spring.
Alpine slide plants: photos and names
As we said above, plants for an alpine slide should contrast and emphasize the beauty of each other. But so that your garden composition does not turn out to be clumsy and inharmonious, you should limit yourself to 3-5 types of plants and flowers.
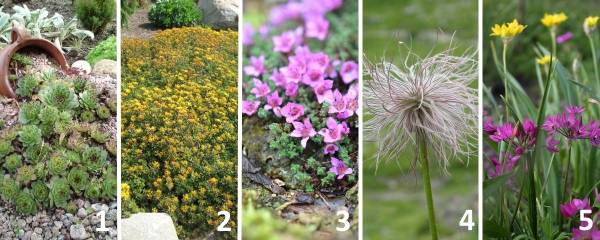
Here is an example of a popular combination of 5 alpine plants that are widely used in horticulture around the world:
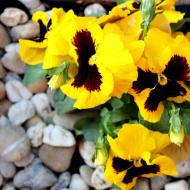
- Young - perennial mountain plant with a pinkish-purple hue;
- Stonecrop "Weihenstephaner Gold" - a plant with spectacular reddish stems, which is covered with golden flowers in late summer;
- Saxifrage - fluffy low bushes with purple flowers (in spring);
- Pasque alpine - has attractively textured leaves and white flowers in spring followed by feathery stems;
- Mountain onion - relatively tall flowers for an alpine hill with white, yellow or pink-purple petals.
If you want the alpine slide to change throughout the season from spring to winter, you can plant flowers on it that bloom at different times of the year.
Common spring-flowering plants for alpine slides:
- Anemone tender;
- Saffron Sieber;
- Corydalis dense;
- Iris;
- Cyclamen Caucasian;
- grouse;
- daffodils;
- Tulips;
- Mountain bow;
- Colchicum and others.
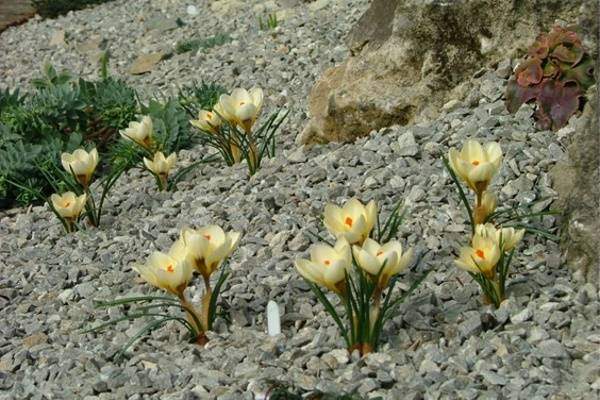
Flowers for the alpine slide that bloom in summer and autumn:
- Colchicum Agrippa;
- Autumn crocuses;
- Sternbergia yellow;
- Cloves and thyme;
- Saxifrage;
- Lumbago,
- Stonecrop.
All of them are quite unpretentious in their care and easily take root in almost any soil. But, as elsewhere, there are some nuances in the choice of soil and drainage for these plants, which we will dwell on in more detail.
How to make an alpine slide (step by step instructions)
You are already familiar with the main features of slides and plants for them, now it's time to find out how you can make an alpine slide with your own hands.
Important point: most alpine plants hate excess moisture. They endure summer heat much better than May thunderstorms. Therefore, you need to choose in advance a suitable place and drainage for the alpine slide. Ideally, such a place could be the southern slope of an earthen embankment near your house or cottage.
High drainage will allow water to run down the slope more quickly, as well as give the plant roots good aeration and sufficient nutrients. The best drainage for your alpine slide can be gravel, pumice, coarse sand or perlite. Note that drainage and decorative stones should be at least 50% of your rock garden, or even 90%.
As for the soil where you will plant the plants, everything is without wisdom here. Use the same soil that is in your country house or yard, mixed with peat moss, rotted leaves, bark, compost, or other organic additive, if possible.
What you need to make an alpine slide with your own hands:
- container under the hill (if necessary);
- Large shovel for backfilling;
- Spatula or small spatula for planting;
- Crowbar for maneuvering heavy stones (if necessary);
- Drainage;
- Stones of all sizes;
- Priming;
- Compost;
- Plants for the Alpine slide.
Following the further step-by-step instructions, you can make a beautiful alpine slide in the country or near a private house with your own hands.
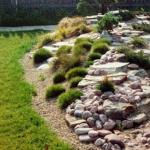
Step 1: choosing a place for rock garden
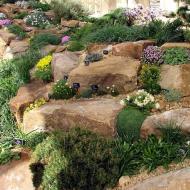
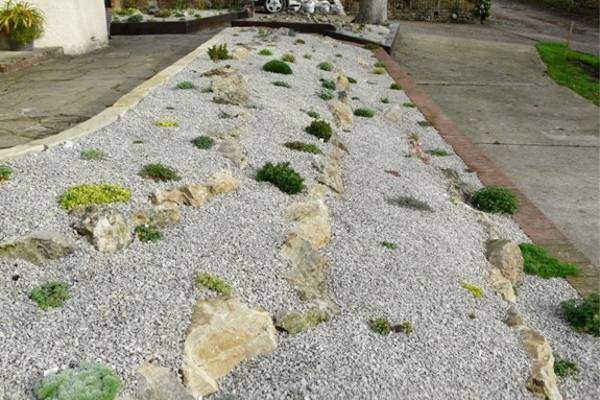
The rock garden can be built on level ground or on a slope. In the first case, you will either have to artificially create a small hill, or dig a slope down, as in the photo below.
Alternatively, you can set up a miniature alpine slide in a stone trough, pot, garden vase, or other container that has drainage holes. So that they do not become clogged over time, they are laid with shards from old broken pots.
Step 2: cleaning the soil from weeds
The item must be completed if you use the land from your own site, and do not buy separately.
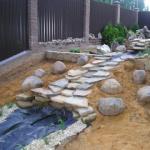
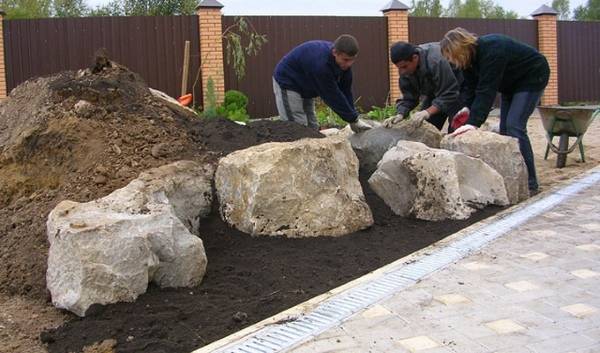
Step 3: foundation and stone laying
Dig a hole at least 30 cm deep and lay a foundation of rubble or large stones in it. For reliability, the perimeter of the pit can be laid with bricks (if you do not use large stones).
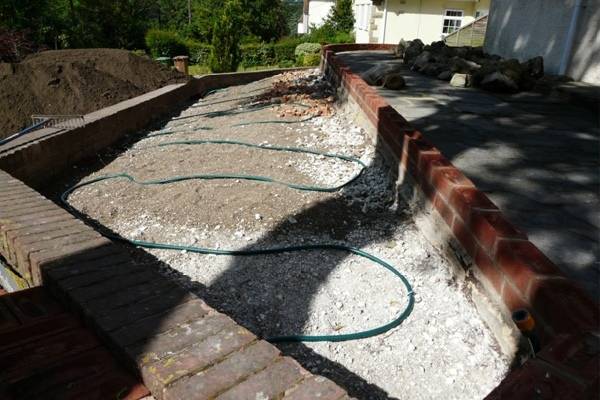
It should be filled, going from the largest "ingredients" to the smallest. A layer of gravel is laid on the rubble, then soil with compost. Small pebbles or mulch can also decorate the top layer of an alpine slide.
Using a few large rocks as the base for the slide will allow you to use less gravel and other ingredients later on.
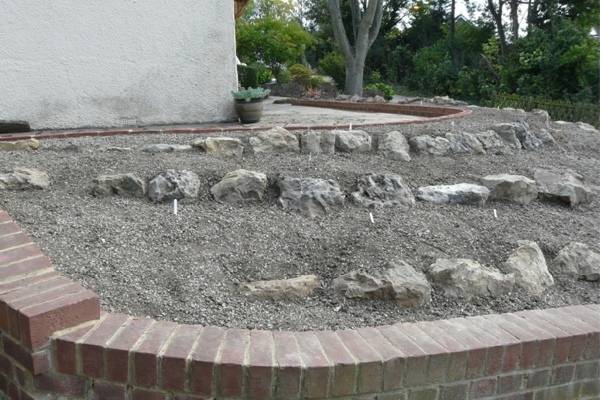
Step 4: backfill
When filling the alpine slide with soil, use some of the small stones to create "pockets" for the plants. They should resemble a horseshoe that will hold the mixture of soil and compost. If possible, immediately mark these places with flags, since the top layer of the alpine slide - small pebbles or mulch - can hide them from your eyes.
Step 5: planting
Water the plant while it is still in its pot. Then remove it and carefully release some of the roots - especially if they are wound around a clod of earth. Place the plant in a planting pocket and cover the roots with soil. As a finishing touch, sprinkle small pebbles or sand on top, which will protect your do-it-yourself alpine slide from falling leaves and weeds.

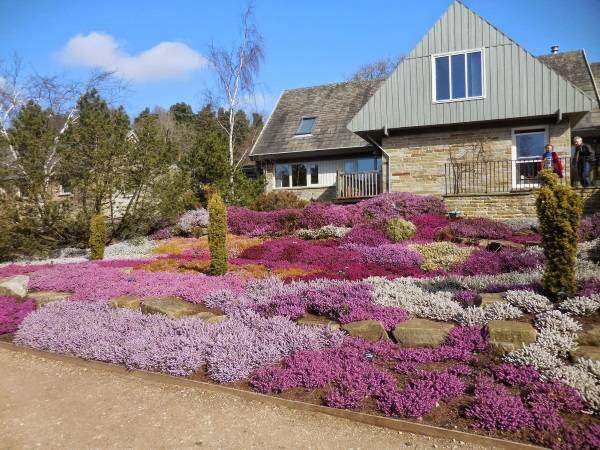
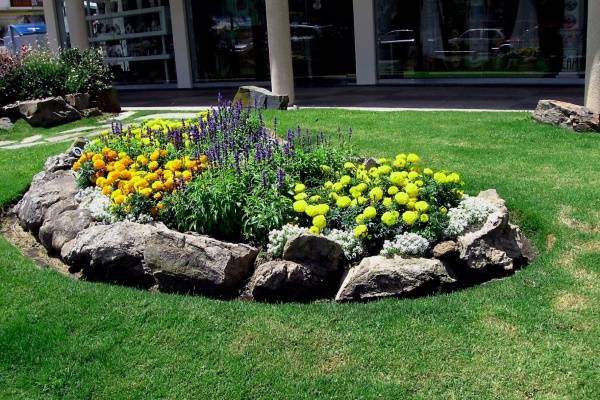
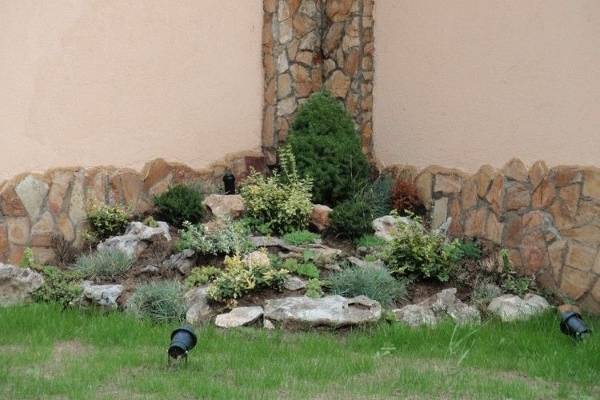
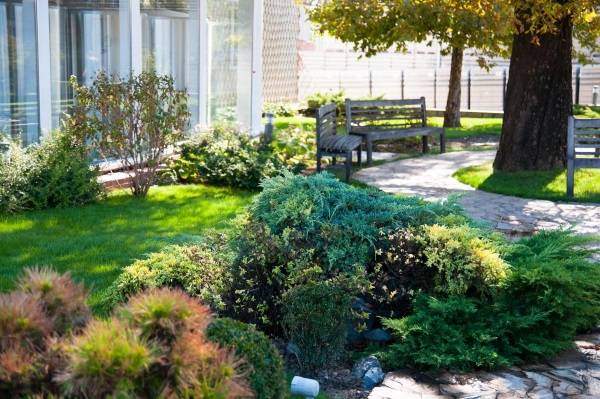
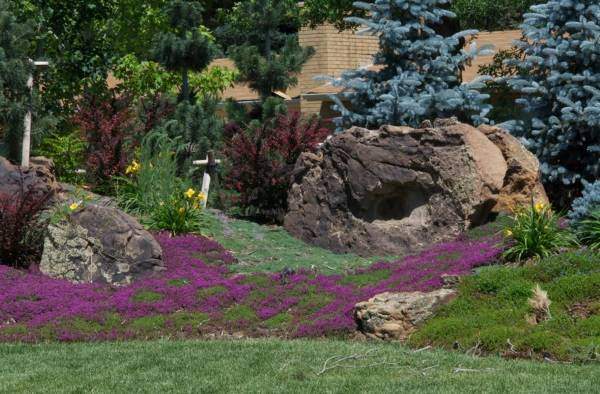
Alpine slides (photo) - do-it-yourself landscape design
Finally, we suggest you take a look at some beautiful alpine slides in the photo. Who doesn't need a dose of inspiration to take on DIY landscaping? Thank you for reading Dekorin!

Related Articles